Written by: Maureen Schimnowsky, Gallery Assistant
The Saskatchewan Craft Council is currently accepting exhibition proposals until November 16! For more information, click here.
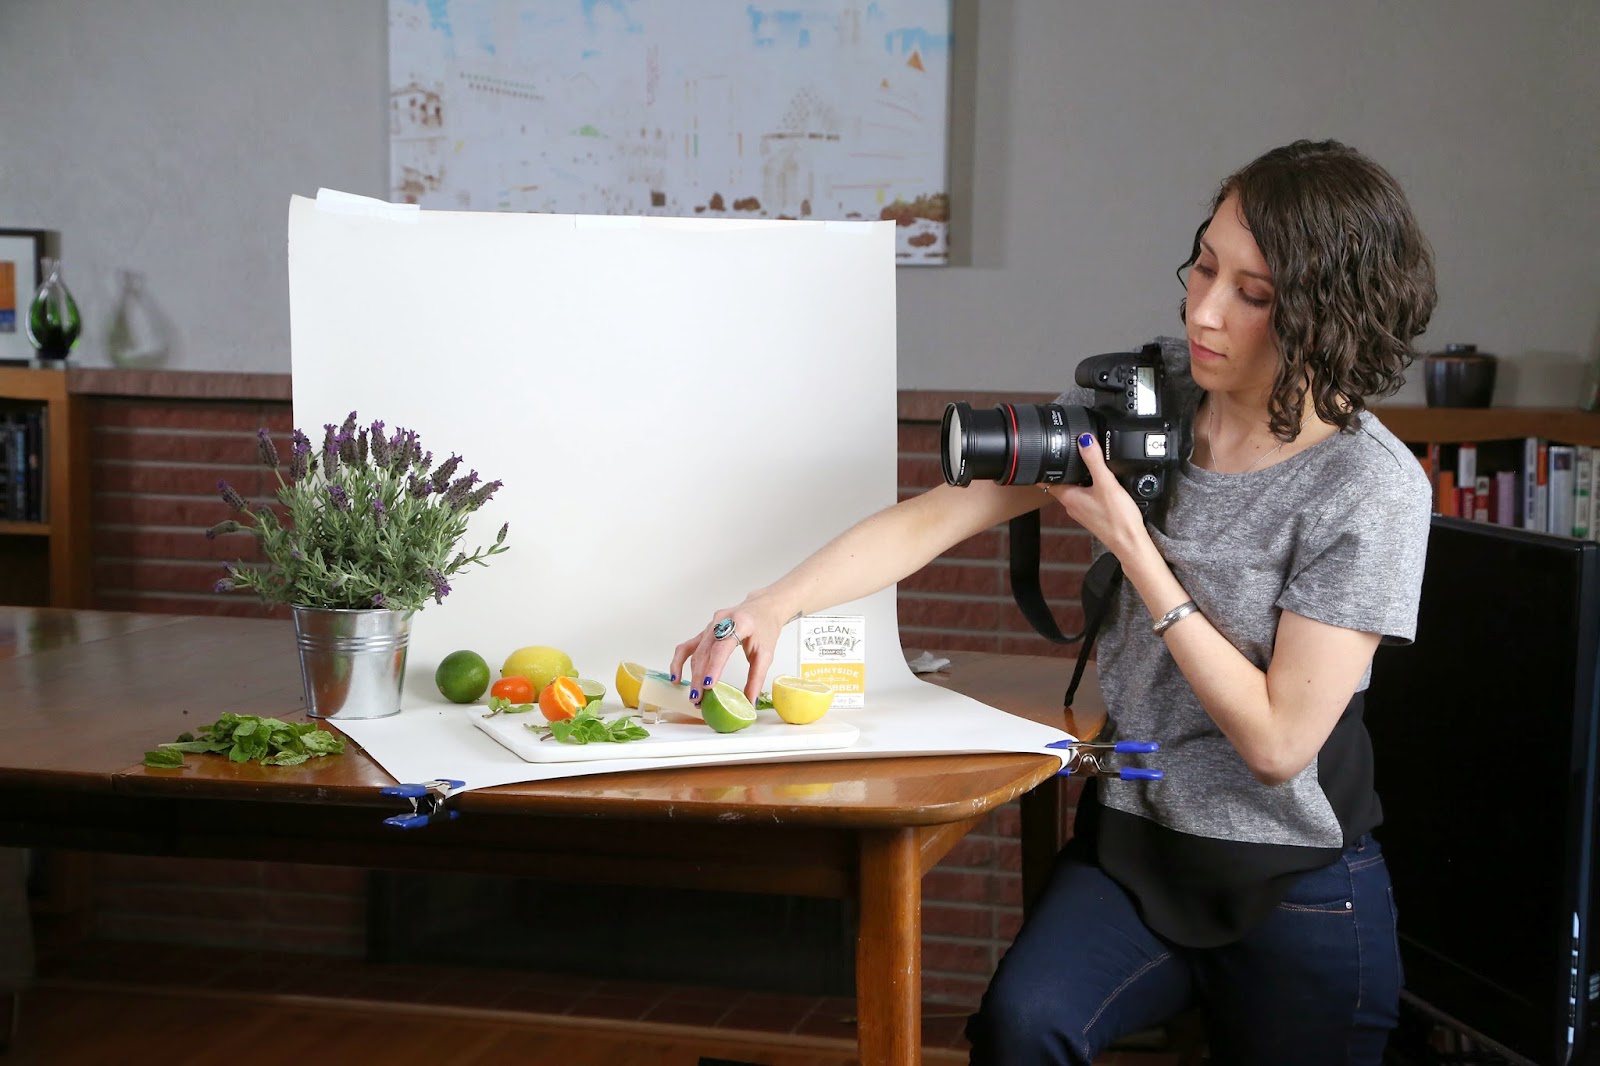
A photography studio is something that can be set up in your own home. Source.
When submitting an application, it’s easy to feel overwhelmed by the application guidelines while a deadline is looming ever closer. While the application process can be stressful, it’s important to remember that there are plenty of resources to help you through! Check out our blog on How to Write an Exhibition Proposal, which features some tips on the differences between Artist Statements and Proposals, and what to include when writing them both. Often, it’s also possible to directly contact those accepting your proposal to ask for aid or to clarify their application specs.
This blog is going to focus on the image portion of the application. Whenever putting together an application, it’s important to remember to never underestimate the importance of good quality images. It’s these images (sometimes even more so than the proposal) that show the committee/coordinators what you are capable of.
Following Guidelines
Always remember that the specifications on the application are designed so that the committee/coordinators can see your images at their very best with the equipment that they have on hand. While the application specifics can seem daunting (what on earth does DPI, RGB or CMYK mean? See below!), just remember to take things slow and get help if necessary. Google is an awesome place to start if you’re not sure of some of the requirements and lingo, or you could also contact those who are in charge of the application to get clarification.
For the SCC’s upcoming Exhibition Proposal, the guidelines specify 12 – 20 digital images, and an accompanying image list, which is also very important. Most applications will have specific formatting for the image list included in their guideline, so be sure to double check the SCC’s guidelines to make sure your list is formatted correctly.
What does DPI mean?
DPI stands for “Dots Per Inch.” This could also be translated into “Pixels Per Inch,” which means how many colour pixels (or dots) should be smushed into a 1 inch portion of your photograph. For example, the guidelines for our upcoming submission deadline say that the images should be 72 DPI. If this sounds formidable, fear not, this is an easy spec to adjust! Once you’ve opened your image into a photo editing program, there will be an option to change the photograph’s main settings, including dpi. If you’re unsure how to do this, just google “how to change DPI settings in (name of photo editing program i.e.: Photoshop).” For more info on DPI settings, look here: http://www.vsellis.com/understanding-dpi-resolution-and-print-vs-web-images/
What do RGB and CMYK mean?
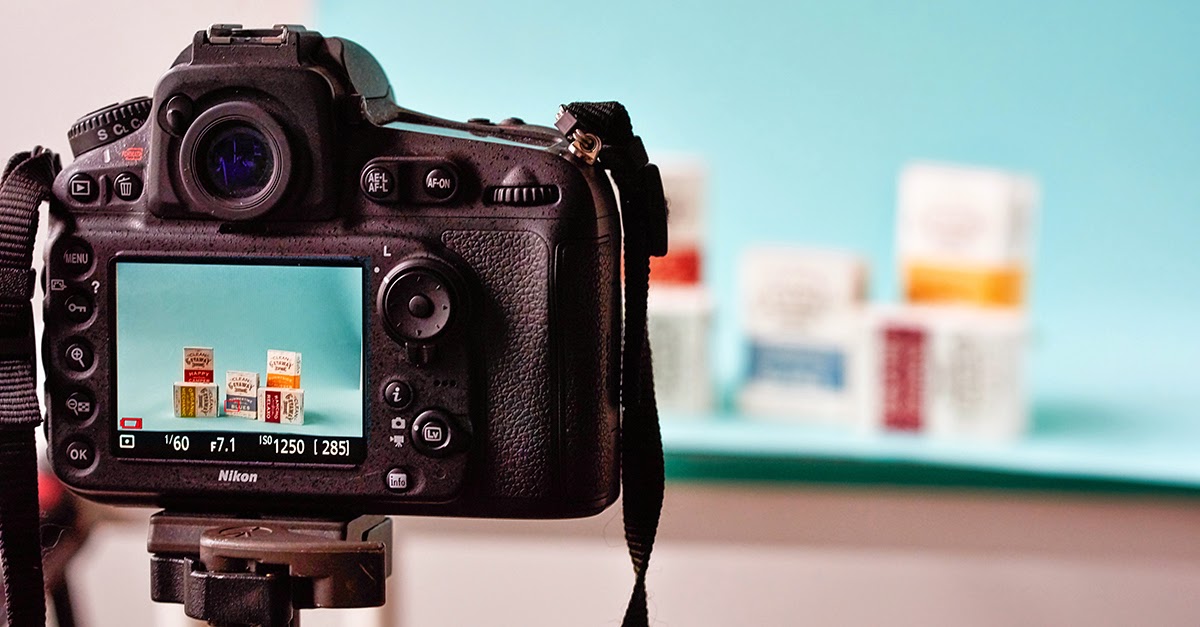
Many digital cameras will have a default setting of 72 DPI, but always double check. Source.
RGB and CMYK are the two different colour settings that can be used for your digital photograph. RGB stands for Red, Green and Blue, and is used when your image is going to be viewed on a screen (computer screen, projected onto a white projection screen, etc.). CMYK stands for Cyan, Magenta, Yellow and Black (black used to be referred to as the “Key” colour when printing, and using “K” to denote “Black” just kind of stuck) and is used when your image is going to be physically printed (as a photograph, brochure, poster, billboard, etc.). You will almost always be asked to send in an RGB image, because it is pretty unlikely that those viewing your application will print your images for viewing purposes. Most digital cameras will take pictures in RGB, so you probably won’t have to adjust this setting, but always make sure that you double check. If your image is viewed on a screen, it will look more vibrant and engaging if it is in RGB formatting. For more info on RGB and CMYK colour settings, look here: http://thevisualcommunicationguy.com/2013/05/14/the-difference-between-cmyk-and-rgb-color/
Taking Photographs of Your Craft
Now that we’ve talked about the basic application specs, let’s talk about taking the actual photographs. You’ve finished some fantastic pieces for your application, but now it’s time to show the committee/coordinators just how amazing your work is. The main thing to remember is that you don’t necessarily need professional equipment to take professional looking photographs. Here are a couple of tips to help you get some great images regardless of the equipment that you’re using.
To Buy or Not to Buy? That is the Question. Or: Do I need professional photography equipment?
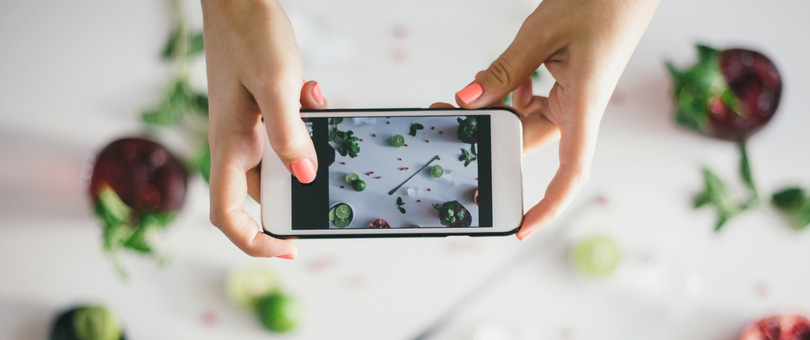
Using your phone’s camera can be just as successful as using a professional grade camera. Source.
If you have a professional grade camera at your disposal, then it can be an excellent resource for creating great images. If you don’t have a high end camera, don’t worry, because there are other options. You can get great images of your pieces with almost any digital camera if you set up your photoshoot properly. Most smartphones are now equipped with excellent cameras as well, so if you have a camera on your phone, it may be just what you need to get the job done.
There are a few basic accessories that will greatly improve the quality of your photographs, and they can range between very inexpensive to exceptionally expensive, so make sure you do your research to determine what you actually need.
Basic Accessory #1: A Tripod.
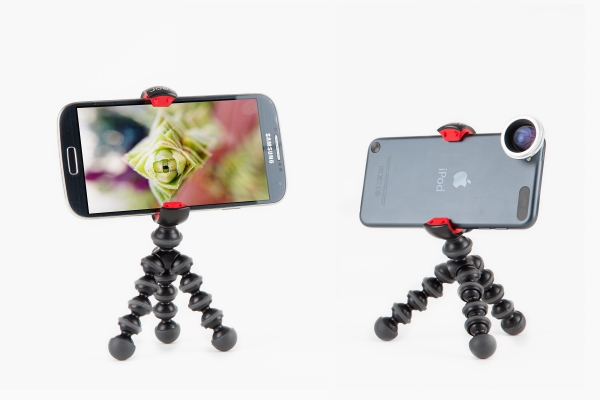
A mini tripod for a phone! Source.
It’s nice to take longer exposures for a higher quality image, and a tripod is imperative in this instance if you don’t want a blurry image. (You can even get tripods for your phone!)
Basic Accessory #2: Light.
A simple DIY photography lighting table. Source.
This is possibly the most important thing for taking quality photographs. Lighting can be expensive though, so instead of spending a ton of money on professional lighting, consider making your own photography lighting table. They are easy, inexpensive, and can dramatically change the quality of your image. Here are some DIY tutorials: http://www.diyphotography.net/how-build-30-still-life-photography-folding-table/ and (even easier) http://www.pixelz.com/blog/diy-1-build-photo-studio-bootstrapped-budget/
Basic Accessory #3: Camera Lenses.

An assortment of Smartphone camera lens options available through Photojojo. Source.
I will say right off the bat that camera lenses can be expensive, and are not entirely necessary. They can, however, help you create some awesome images, particularly if you are photographing something small and opt for a macro lens, or if you are photographing something large and decide to use a tilt and shift lens to minimize perspective distortion. (There are even lenses for your phone!)
Here are a few excellent sources for taking successful product images with almost any camera: http://www.pixelz.com/blog/use-smartphone-to-capture-high-quality-product-images/ and http://www.practicalecommerce.com/articles/3889-How-to-Take-Gorgeous-Product-Photos
The main thing to remember when submitting an application is to give yourself enough time to take things slow, double check your work, and get someone else to look it over for anything you may have missed. If you’re worried, feel free to contact Les or Maia at 306.653.3616 ext: 2, or via email at scc.exhibitions@sasktel.net.